As mentioned in an earlier post, there are many varieties of leather. However, all types of leathers have to go through four fundamental stages before it is ready to be used. These are –
- Preparatory steps
- Tanning
- Re-tanning
- Finishing
1. Preparatory Steps
The cured hide needs to be prepared for the tanning process. Although there are various preparatory processes, the tannery may not perform all of them. This will depend on the quality and type of the desired product. Some of these processes are soaking, pickling and de-pickling, liming and de-liming, bating and bleaching.
2. Tanning
Leather tanning is a complex and lengthy process. Though mechanisation has made it less labour intensive, it still requires considerable time and energy. The purpose of the tanning process is to alter the protein structure of the skin. This will increase durability, texture, and appearance. The most common processes include vegetable tanning, mineral tanning and aldehyde tanning.
a) Vegetable Tanning
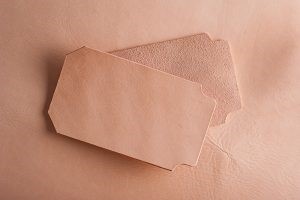
Vegetable tanning has been around for thousands of years. Unlike mineral tanning, it uses a naturally occurring polyphenol astringent chemical called tannin. This is usually found in bark, leaves, and tree branches. Tannin gives a unique colour and texture to the leather.

However, the process is time consuming. It is also laborious and expensive. There are two types of vegetable tanning processes. The slow process takes about 30 days, while the rapid tanning process only lasts about 36 to 48 hours. Sometimes, however, the slow process can take several months, as it may require multiple treatments.
This process produces highly durable leather. So, vegetable tanned leather is often used to make products such as saddles or holsters. Or, in the case of Trade Time, our jeans and dress belts, drill holsters, and our super tough Riggers range. Plus, the backings of all our accessories such as hammer holders, tape measure holders and utility pouches.
b) Mineral Tanning
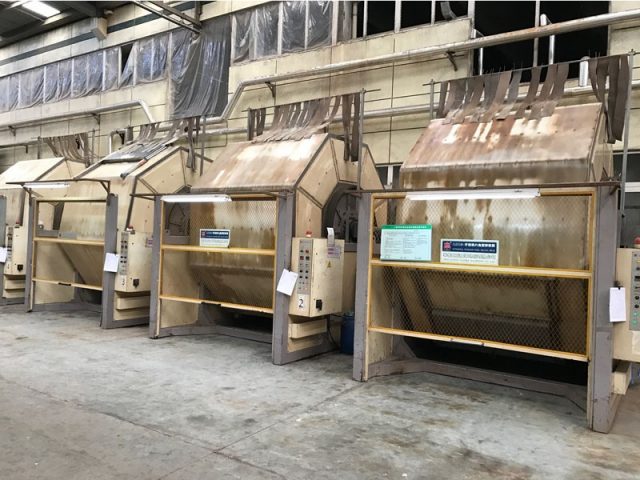
Mineral (or chrome) tanning is the most popular tanning process. This is because it’s much quicker, affordable, and less labour intensive. The process can be automated and lasts a day at most. Usually, the time for chromium tanning is around 2 or 3 hours for small and thin skins. However, it can go up to 24 hours for thicker ones.

This is where it gets a bit technical! The size of chrome molecules is small compared to vegetable tannin ions. As a result, chrome ions can penetrate the collagen and remove water molecules effectively. This means that mineral tanned leather is thinner and softer than vegetable tanned leather.
c) Aldehyde Tanning
This tanning process uses glutaraldehyde or oxazolidine compounds. Aldehyde tanned leather is water absorbent, soft, and can be machine washed. Sometimes, emulsified oils are blended with aldehyde chemicals because it produces soft and flexible leather. This process is called oil tanning.
3. Re Tanning
Re-tanning converts the tanned leather into a marketable product. The first stage is drying. This is where the tanned leather is pressed between two rolling cylinders to remove the water absorbed during the tanning process. Next, is shaving in which the leather passes through two rolling cylinders. The upper one has helical blades to remove residue and create a uniform thickness. Splitting is when the thick leather is sliced into one or more horizontal layers. These different layers will be used for different products. Next comes dyeing – except for vegetable tanned leather, all types of leather are dyed. Often, water-soluble dyes are used. This allows the dye molecules to penetrate inside the fibres. Finally, fat liquoring is the process of adding fats, oils, or waxes between the fibres. This keeps the leather soft and flexible. Without this process, the leather will dry and become stiff.
4. Finishing
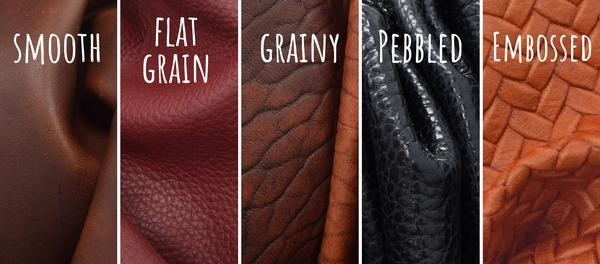
This is the final stage where finishing touches are added to the tanned leather. This can include colour, texture, thickness, and surface patterns. Some methods include polishing to create a shiny surface and embossing to create a print using heated hydraulic or roller presses. Another method is surface coating to add different colours and designs. The leather is also graded before it is dispatched to the customers. Grading is often based on a variety of factors such as the feel of the leather, colour, pattern, thickness, softness, and flexibility.

So there you go. Hopefully, this post has given you a better understanding of the leather manufacturing process and what’s involved!
Click here to read more about the leathers we use in our products.
